
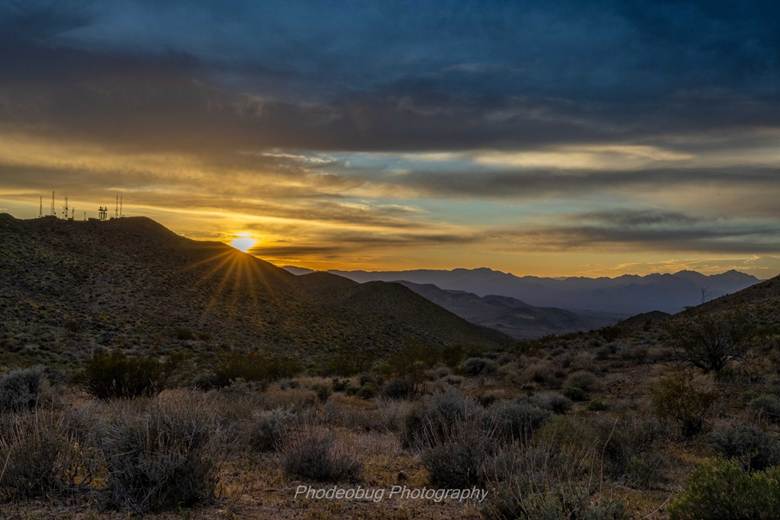
There’s a moment in the Mojave when the day exhales — when the heat softens, the wind settles, and the sky begins its slow burn into gold, ember, and violet. Sunset photography isn’t just about capturing color; it’s about honoring that transition, that breath between day and night. Out here in Ridgecrest, where the desert stretches wide and the mountains carve the horizon, sunset becomes a daily performance worth showing up for.
Whether you’re brand new to your camera or looking to refine your craft, this guide will help you slow down, tune in, and create images that feel as alive as the desert itself.
1. Arrive Early, Stay Late
Sunset isn’t a single moment — it’s a timeline.
- Golden Hour: Warm, directional light that sculpts texture in rocks, Joshua trees, and desert washes.
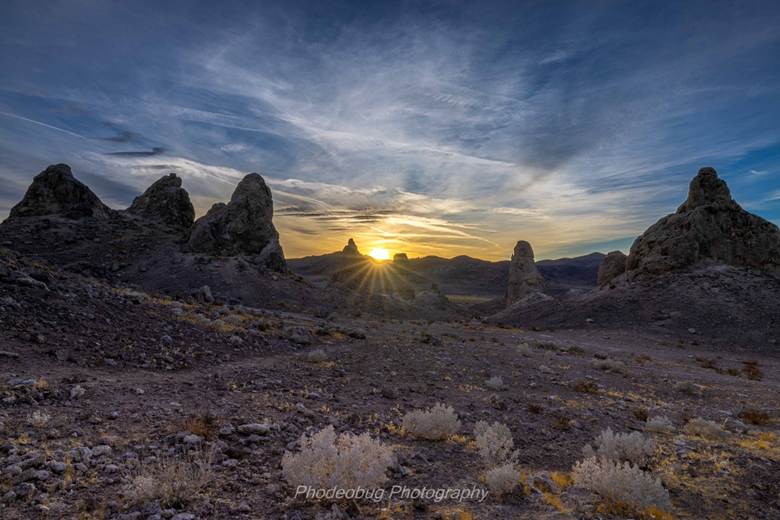
- Sunset: The dramatic drop — bold color, strong contrast, silhouettes waiting to happen.
- Blue Hour: The quiet afterglow — soft gradients, pastel skies, and balanced exposures.
The magic often happens before and after the sun touches the horizon. Arrive 45–60 minutes early, and linger 30–45 minutes after. The desert rewards patience.
2. Start With Simple, Reliable Settings
You don’t need complicated gear or advanced techniques to make beautiful sunset images. Start with:
- Mode: Aperture Priority (A/Av) or Manual
- Aperture: f/8–f/16 for landscapes
- ISO: 100–400 early, rising to 400–1600 as light fades
- Shutter: Let the camera choose in Aperture Priority, or keep it above 1/60 if handheld
- White Balance: Daylight for natural warmth, Cloudy for extra glow
And always — shoot RAW. Sunset color deserves the flexibility.
3. Compose With Intention
A sunset is more than a sky. It’s a story.
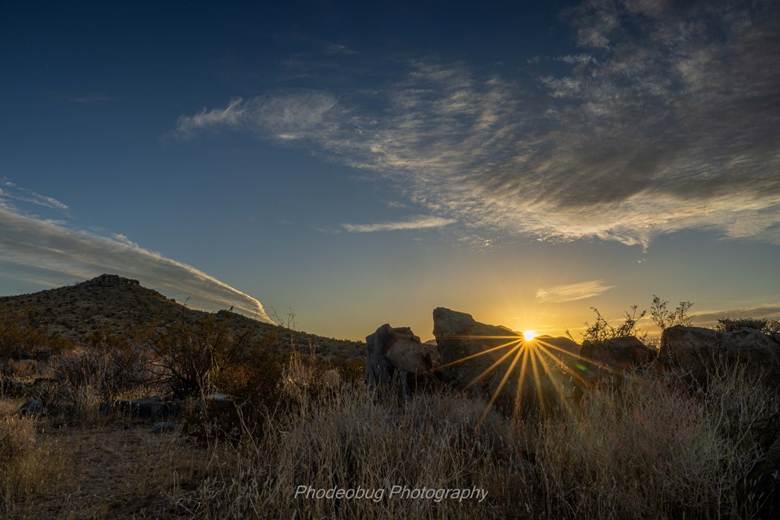
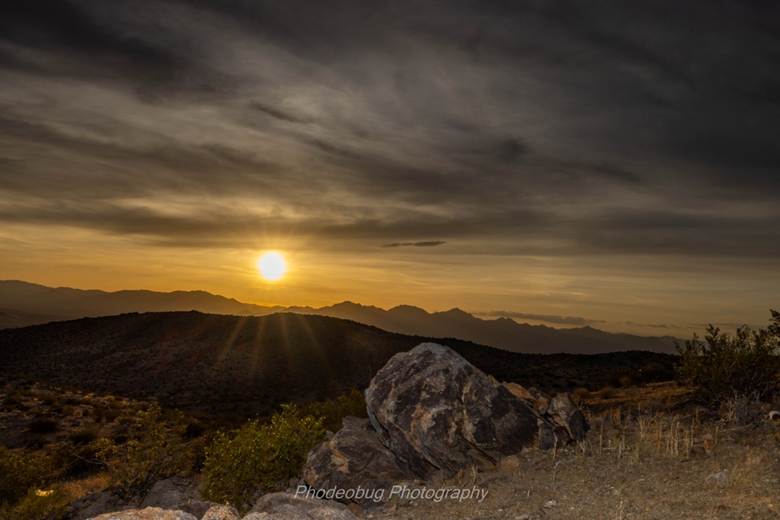
- Foreground anchors: A creosote branch, a cracked desert rock, a winding dirt road.
- Leading lines: Trails, fences, dry washes guiding the eye toward the horizon.
- Rule of Thirds: Place the sun or horizon on a third line for balance.
- Negative space: Let the sky breathe — emptiness is part of the desert’s poetry.
Think of your frame like a sentence: every element should have a purpose.

4. Expose for the Highlights
Sunsets are bright — brighter than they look. To keep the sky from blowing out:
- Use your histogram to avoid clipping.
- Slightly underexpose to protect color.
- Try exposure bracketing (±1–2 stops) for HDR blends later.
The desert sky holds incredible detail when you treat it gently.
5. Embrace the Atmosphere
Dust, haze, thin clouds, wildfire smoke, humidity — these aren’t flaws. They’re amplifiers.
Atmosphere scatters light, deepens color, and creates gradients that feel painterly. Some of the most breathtaking Mojave sunsets happen on imperfect days.
6. Bring the Right Tools
You don’t need much, but a few items make a big difference:
- Tripod for low-light sharpness
- Grad ND filter to deepen color
- Lens cloth (sunset flare reveals every smudge)
- A wide lens for sweeping landscapes
- A telephoto for compressing layers and isolating the sun
Think of your gear as companions, not requirements.
7. Let the Moment Lead You
Sunset photography is part technique, part intuition. The desert changes fast — color shifts, clouds drift, shadows stretch. Don’t lock yourself into one composition. Move. Explore. Respond.
Some of your best images will come from simply following the light.
Final Thoughts: The Desert Teaches You to See
Sunset photography isn’t just about capturing beauty — it’s about learning to notice it. The Mojave teaches you to slow down, to pay attention to subtle shifts, to appreciate the quiet drama of light meeting land.
Every sunset is a new story. Every photograph is a way of saying: I was here. I witnessed this.
And that’s the heart of Phodeobug Photography — finding magic in the everyday, and helping others see it too.